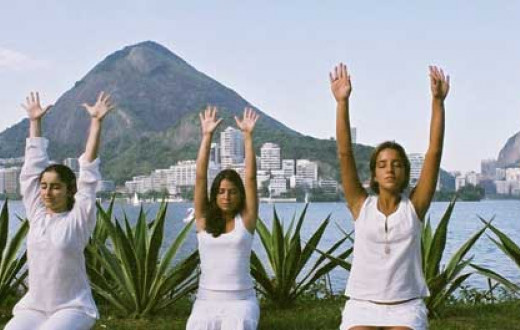
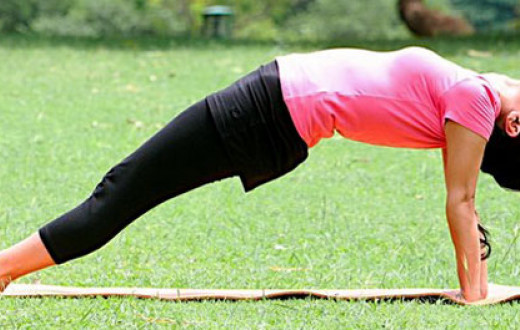
Standing yoga asanas help build strength developing the leg muscles. They go a long way in burning fat, and shaping and toning the body. They also help you maintain balance.
Try these 10 standing yoga poses to build your sense of balance and strength.
1. Konasana (Sideways bending using one arm)
<image>
How to do it:
- Stand in Tadasana (Mountain Pose) with your feet about six inches apart.
- Take a deep breath in, stretch your right hand above the head and look upwards at it.
- Breathe out. Bring the arm down.
- Repeat with the left hand as well.
Benefits:
- Stretches the sides of the body
- Helps tone arms, legs, and abdominal organs
- Helps relieve back pain
- Stretches and flexes the spine
2. Konasana 2 (Sideways bending using both arms)
<image>
How to do it:
- Stand in Tadasana (Mountain Pose). Relax your breath.
- Breathe in and slowly lift both arms together above your head. Keep your fingers interlocked.
- Breathe in and as you exhale, tilt towards the left side without folding the elbows and experience the stretch from the base of the spine.
- Slowly, come up and repeat the sideways bend and stretch towards the right side as well.
- Relax and come back to Tadasana.
Benefits:
- Stretches the sides of the body
- Tones the arms, hips, and abdominal organs
- Flexes the spine
3. Katichakrasana (Standing Spinal Twist)
<image>
How to do it:
- Inhale and lift both hands in front to the shoulder level, palms facing each other at uniform distance. Keep them straight as if holding an invisible football.
- Slowly, turn towards the left side, twisting from the base of the spine to the best of your ability keeping the hands parallel and at equal distance.
- Breathe out, and come back to the original position, Relax your breath.
- Repeat this with the right side as well. You can do this five times each side to keep your sides flexible.
Benefits:
- Helps relieve constipation
- Strengthens and flexes the spine and waist
- Tones the arm and leg muscles
- Opens up the neck and shoulders
- Strengthens the abdominal muscles and lower back
4. Hastapadasana (Standing Forward Bend)
<image>
How to do it:
- Stand in Tadasana (Mountain Pose).
- Stretch both hands up to the sky and look up. As you breathe out, slowly bend forward trying to touch the tip of the toes with your fingers.
- Inhale and slowly stretch up, keeping the spine straight as possible.
- Breathe out and slowly come back to the original position. Relax your breath.
Benefits:
- Stretches the muscles of the back
- Helps increase blood circulation
- Flexes the spine
- Tones the abdominal organs
5. Ardha Chakrasana (Standing Backward Bend)
<image>
How to do it:
- Stand straight with your weight equally balanced on both legs.
- Breathe in and lift your hands over your head.
- Breathe out and bend backwards as much as you can.
- Breathe in and come back to the original position.
- Repeat 3-4 times.
Benefits:
- Stretches the torso
- Tones the arms and shoulder muscles
- Makes the back supple and strong
6. Trikonasana (Triangle Posture)
<image>
How to do it:
- Spread your legs. Keep approximately one meter distance between both feet.
- Breathe in deeply and as you breathe out, bend your body to the right, with your right hand reaching for the floor while your left hand stretches towards the sky.
- Keep both hands in one straight line.
- Rest in this posture for a few seconds and then regain your original position.
- Repeat the same with the left side.
Benefits:
- Facilitates mental and physical balance
- Strengthens the legs, knees, ankles, arms, and chest
- Stretches and opens the hips, groins, hamstrings, calves, shoulders, chest, and spine
- Reduces anxiety, stress, back pain, and sciatica
7. Prasarita Padahastasana (Standing Forward Bend with feet apart)
<image>
How to do it:
- Stand straight. Spread your legs. Keep approximately one meter distance between both feet.
- Breathe in and bring your hands in front to touch the ground.
- Bend your body forward trying to keep the spine straight and attempt to touch the tip of your head to the ground. Do not force yourself, stretch only as much as your body permits.
- Breathe in and slowly breathe out. As you breathe out, come up and relax.
Benefits:
- Strengthens the legs and feet
- Lengthens the spine
- Stretches the hamstrings
- Strengthens the abdomen
- Flexes the hip and thigh muscles
8. Vrikshasana (Tree Posture)
<image>
How to do it:
- Fold your hands, join your palms together in front of the chest in namaskara mudra.
- Fold your left leg and try to fix the heel on the right leg at the highest point possible, just below the hip joints.
- Focus your thoughts and vision to maintain balance.
Benefits:
- Stretches the legs, back, and arms
- Balances the body and mind
- Helps improve concentration
- Strengthens the legs
- Opens the hips
9. Chair Pose
<image>
How to do it:
- Stand straight with your weight evenly balanced on both legs.
- Relax and slowly bend your back as if sitting on an invisible chair.
- Stay in this pose for 10-15 seconds and then relax. Regain your original position.
- Repeat 3-4 times.
Benefits:
- Tones the thighs, ankles, legs, and knees
- Balances the body
- Stabilizes the mind, bringing it to the present moment
- Strengthens the spine, hips, and chest muscles
10. Veerabhadrasana (Warrior Pose)
<image>
How to do it:
- Stand straight with your legs 3-4 feet apart.
- Turn your right foot out by 90 degrees and left foot in by about 15 degrees.
- Lift both arms sideways to shoulder height with your
- palms facing upwards.
- Breathing out, bend your right knee.
- Turn your head and look to your right.
- Make a gentle effort to push your pelvis down.
- Breathe in and come up.
- Repeat for the left side.
Benefits:
- Strengthens and tones the arms, legs, and lower back
- Improves balance
- Helps increase stamina
- Releases stress in the shoulders
These standing yoga asanas will test your endurance and exercise every part of your body. So, they are more challenging than sitting yoga asanas. For an ideal experience, it is best to do these asanas on an empty stomach, preferably in the early morning hours. Do not jerk your body for any asana or overbend or overstretch. Slowly move into deeper bends and stretches. Keep breathing and pay attention to your breath. Perfecting the asana is not important as much as enjoying the art of perfection!
If you supplement these standing yoga poses with breathing exercises and awareness, it maximizes the benefits. Also, consider following a healthy Ayurvedic diet. These healthy lifestyle practices will help you sit back and live a long and comfortable life!
We’d love to hear from you. Write to us at info@srisriyoga.in
Yoga practice helps develop the body and mind bringing many health benefits. Yet, it is not a substitute for medicine. It is important to learn and practice yoga postures under the supervision of a trained Sri Sri Yoga teacher. In the case of any medical condition, practice yoga postures after consulting a doctor and a Sri Sri Yoga teacher. Find a Sri Sri Yoga program at an Art of Living Center near you.


